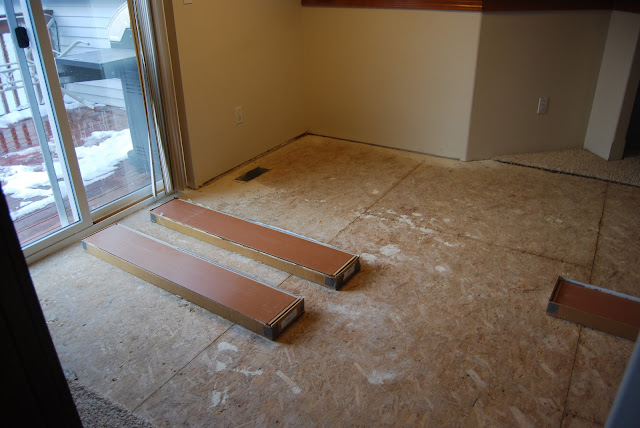
So given the flooring I'd done before I figured the main floor would take a day. The next morning I got started by with a trip to Home Depot to pick up a kick-ass Ridgid 10-inch Sliding Compound Miter Saw. I hate dropping this kind of dough, but I kept telling myself that it will pay for itself in this project and any project in the future. And let me tell you, it was well worth it! I non-sliding single-bevel saw just wouldn't have cut it.
So I returned home eager to get this project done...
 |
| Cleaned up and ready to go... |
...anybody that has done this before can tell you, starting is the hardest thing to do! I kept asking myself, 'which way does this thingy need to go???? Once started, it went pretty quick. By 10:00 it looked like this:
 |
| Latte checkin' my progress... |
 |
| Watching Daddy work |
 |
| My foreman busting my balls..."you sure you know what you're doin'?" |
 |
| My handy-dandy nose-trimmer jig thingy |
When using laminate, the 'nose' of the stair must be trimmed flush with the 'kick' board of the stair. I used the jig pictured above to transfer the line of the stair from the bottom of the tread to the top. Originally, I used a circular saw to make the cut, but realized after that it took me an hour to cut the ends of the tread and clean up the edge. That wasn't going to do it for me, so I fell back on plan 'B' and tried using a Reciprocating Saw I got on sale at Harbor Freight. That was the ticket! Any clean-up of the edge was quickly done with my trusty Oscillating Power Tool that was a gift from my father-in-law a couple years ago...thanks Kent! I can't tell you how great this tool is! Aside from the gripes about dust being everywhere, this was starting to go smooth!
So by the end of the second day I only had the stairs ready to start work on. On Christmas Eve, I cut and fit the treads and it looked like I was going to finish today. I finally got everything fit and started gluing and nailing the laminate at about 7:00...and then I ran out of glue!!!! Aaaurgh! Thinking Wal-Mart was open 24-7, I made a mad dash to get some glue. Come to find out, they close at 8:00 on Christmas Eve...just 20 minutes late.
Defeated and tired (mentally and physically), I returned home to my un-completed stairs...it's almost as if they were mocking me, "...and you thought you were going to finish us....ha ha ha, you silly little man! Now you have to look at us for a whole day before you can even touch us again! We Win!!!". Stupid stairs...
 |
| Mocking stairs |
 |
| Conquered stairs |
 |
| Finished dining room, from living room |
 |
| Dining room, from kitchen |
 |
| Hallway to bedroom and bathroom |
When all said and done, the whole project cost:
Flooring, trim, and pad: $390
Time: 3 Days
Tools: I'm not going to get into this...but the tools cost more than the flooring and time. And tools last a lifetime!
All said and done, my wife and I started to wonder why we didn't do this sooner. I'm a little bummed that we aren't going to be able to enjoy the floor for much longer (if the house sells). I will also have to say this project really made me hate my desk job...I was sore and stiff for the next week!


Well done, sir. Looks fantastic!
ReplyDeleteGlad you were able to "pencil out" the purchase of the miter saw. Projects like yours are how I've been able to justify a bunch of tool purchases over the years! You'll use the heck out of that saw, though, I predict.